
Welcome to YWC Tips and Tech Blog
A Quick Thread Waxing Guide
As I mentioned in my post “Smoothing Things Over a Bit” I have used so many different kinds of threads, cords, and ropes. If you are beginning to work with Arts and Crafts you will use many different kinds of threads also. One quick lesson you can learn in the beginning, that will make your work so much easier, is to learn the best way to wax thread when needed.
What are the benefits of waxed thread?
It will not only make things easier, waxed thread will make your product look better. When leather working you will need to use waxed thread more often than not. Waxing your thread makes it much easier to stitch, especially when working with leather. Wax also repels moisture keeping the thread dry protecting it from mildew, and protects the thread from fraying. Waxed thread is stronger and more durable, and helps your stitches inter-lock holding them together more tightly.
Why wax your own thread?
I am always looking to save money. That is why I never buy pre-waxed thread unless I have no other choice. But it’s not just about saving money. If I wax my own thread, I have control over how it's done and how much wax to apply. Much of the time I have to remove some of the wax from pre-waxed thread. Plus, by waxing the thread myself, I remember to condition the thread before using it (I will discuss this later in the post). So my recommendation is to use waxed thread if you think you need it and apply the wax yourself.
So what is the proper way to wax thread?
There is probably more than one right answer to this question because I know other Smiths have their own preferences. However, I will tell you what has worked best for me and why. In my other post I told you a little about different types of wax. I have always used regular bees wax. So, once you have chosen the thread you want to use, lay one end of your thread over the bar of wax. Grab the end of the thread between the index finger and thumb of one hand and press down slightly with the index finger of the other hand securing the thread between your finger and the wax block. Then simply pull the thread through your finger and wax until you have reached the other end of the thread. Depending on how much wax you want to apply you may have to twist the thread a bit and repeat the process so that you can apply wax to different sides of the thread. Some people I know use a wax block made into a small canister with grooves so they can simply put the end of the thread in the groove and pull it through. I don’t like this technique because I can not control the pressure placed on the thread. When you do it this way you do not have control of how much wax to apply. Waxing the thread the way I described will give you much more control. The amount of pressure you apply when pushing down the thread will vary and over time you will just know when it's right. Once I’ve applied the wax I proceed to the conditioning part of the process I mentioned earlier.
Why do I condition my waxed thread?
Conditioning your thread just means that you are ensuring that the wax gets evenly distributed along the thread. It also helps straighten the thread before use. All that is needed here is to place one end of the thread, again, between your index finger and thumb and grab just below that with your other index finger and thumb. Pull the thread through your fingers evenly and all the way down to the other end of the thread. Twist the thread slightly and repeat this process. You may have to do this several times. What this does is heats up the wax produced by your fingers and the friction of pulling the thread through them. As the wax heats up it will basically melt into the thread giving it an even coat. This is a very important step. If you fail to do this the thread may have places that have wax and places that don’t, and the wax can be clumpy in spots, and so on. Many people, like myself, forget this process when they use pre-waxed thread.
So, what’s next?
Thread your needle (needles, if using a saddle stitch) and create your next masterpiece. I realize this process is much simpler than I can make it sound on paper and can be performed in a really short amount of time, but it is very important and can prevent a lot of headaches. Once you do it a few times you will know just how much pressure to apply to get the perfect coat of wax, and it will become so second nature that you don’t even realize you're doing it. If you still have questions about this process jump over to the YWC Video Page and watch "Perfect Your Stitches". Have fun and don’t forget I would love to see what your working on.
Steven B. Dodd
Arts and Crafts
I'm A Beginner, Where Do I Begin...
This is, by far, the one question that I hear people ask more than any other. And to be honest, in my opinion, there are a number of ways to answer it. It really depends on a several factors. Matter of fact, I think it would be safe to say that there are as many ways to answer this question as there are people out there asking. So, to begin with, I'll need to make a few assumptions.
First, I am going to assume that by “beginner” we are talking about a beginner in the complete sense of the word. some people may be a complete beginner to Arts and Crafts but have extensive knowledge and experience with another task that could greatly aid them in getting started. For example, someone may be interested in scrap-booking, if that person is a secretary or office person they can use the experience they have in and around the office to help them get started.
Second, I know when I get the bright idea to try something new, Arts and Crafts or Other, I always begin by looking into the cost. If you are like me you're on a budget. When it comes to Arts and Crafts many times you will never see a return on your product. Yes, crafts do sell but, especially starting out or beginning a new craft, your first products will probably be less than desirable. Remember that we will initially go through a learning phase. Furthermore, if you are doing this for your own pleasure or as a gift, you're not making it to sell anyway. I have to be perfectly honest here. Many, many times, once you have considered all your material cost, then the absorbent amount of time some projects can consume, it is unlikely that you will ever get enough money back to break even, must less make a profit. So, secondly I am going to assume you want to spend as little as possible until you see if you are going to like the new Art or Craft.
Third, I know we live in a busy world. Most people have families to raise, jobs to work, schools to attend, and so on. I don't know many people, if any, that have an unlimited amount of time on their hands. Sure, I do Arts and Crafts in the first place for the enjoyment, but I also have to fit in all the other life activities. That is why I am going to assume you want a hobby you can pick up and put down. Sometimes I get so involved in my projects that I suddenly become deaf to everything that's going on around me. Someone may be almost screaming at me and I am in a state of total silence. However, there is always going to be interruptions causing you to have to lay down your work in mid-stitch. Also, it's good to start small and work up. By that I mean begin with something you can accomplish in a reasonably short amount of time. This helps in a couple of ways. One, is that you will get that satisfaction of completing a project that makes us all feel so good. Two, it is easier to see where we are making our mistakes and helps us learn to correct those mistakes. I know there are other reasons but I'll leave it at that for now. Start with small, less time consuming, projects first.
I could go on and on but I think you get the point. So, back to where should I start? Start by asking yourself what it is you would like to accomplish. What is your end goal? Are you wanting to learn this Art or Craft so you can make gifts to give to others? Are you wanting to sell your products? Are you just wanting to learn to have something enjoyable to do? Are you really wanting a long lasting hobby or do you think you'll get tired of it after a short time and put it down? I don't like to tell people a specific Art or Craft to begin with because they all have their pros and cons. I can say that the term Arts and Crafts cover such a wide array of topics that there is usually something for everyone. With that said, I have found that some Arts and Crafts have been easier for me to learn than others.
- Cross Stitch – Very easy to learn. Especially if you start with plastic canvas. You can get started with very little money. Buy a couple of needles ($2-$3), A sheet of plastic canvas ($1), and a few colors of yarn ($6-$8) and you're running.
- Scrap Booking – Sometimes you can find everything you need in your home. But, even if you have to buy supplies, you can at low cost.
- Paper M ache – Again, you can find many of your supplies at home or at little cost.
- Clay Art – Even though some clay's can be expensive, you can start out buying the less expensive clay (usually air dry) and that's pretty much all you need. Keep in mind that if you do go with oven baked clay I would recommend spending $20 for a cheap toaster oven to use specifically for your clay. Baking clay in your home oven is not a safe idea. Some clay's are toxic.
- Jewelry – Here again you can start out as cheap or as expensive as you'd like there are so many options.
So, there's my take on where to begin. There are so many reasons people may want to try and learn a new craft. And different people have different resources, time restraints, and so on that it's just really hard to pin any one thing down. I hope this give you a better idea of what to look for, and I certainly hope it doesn't scare you away from trying something new. Just dive in and enjoy yourself.
Steven B. Dodd
Floss Conditioner/"Wax"
Smoothing Things Over a Bit
I've been working with thread for many years. I used everything from general sewing thread up to floss and yarns. I worked with Paracord and macrame' rope and many other kinds of threads, cords, and ropes. Over the years I have found threads that work well right off the spool and others that tangle and snag on every stitch. There is nothing more aggravating than trying to make a nice clean stitch when the thread keeps tangling up and snagging on the fabric or canvas your using.
For a long time I just took the bad with the good and kept sewing or stitching. But, when I started working with leather and hand sewing leather pieces together, I learned very quickly that in many more cases than not waxed thread was a must. Did that ever make a difference. Since I had learned that lesson early on into my leather endeavor it made it much more enjoyable.
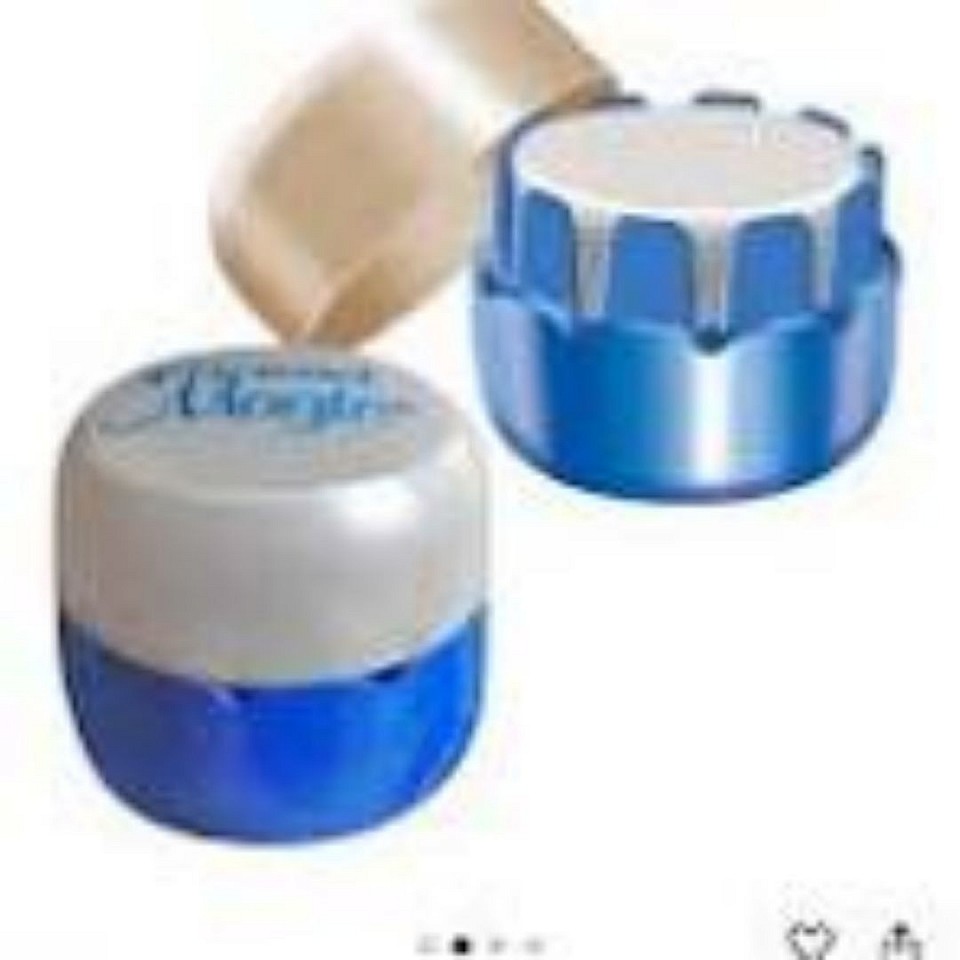
I had never really considered using this technique while cross stitching, especially using embroidery floss. It is commonly known as thread or embroidery conditioner. I just call it like it is...it's wax. Once I began to study up on it I read that if I didn't get the right wax/conditioner that it could discolor the thread. You can buy clear wax like the picture shows. However, I have used just plain yellow bees wax and have never had a problem with it affecting the colors of my thread.
My advise is if you are working with a thread, cord, or rope and having difficulty with tangles or snags there is only a few situations that I can think of that would prevent a person from using wax to smooth the process out. Of course, if your trying to make your project look rustic, using the cord unwaxed will certainly create a more rustic look.
Steven B. Dodd
